Webhooks
Webhooks enable web applications to communicate with each other in real-time by allowing an application to automatically send data to another application when a specific event happens. This is particularly useful for integrating different web services, allowing one service to trigger actions in another based on events.
For example, when there's any event for a charge on your business account, if a Webhook URL is set up, Busha Commerce will send a notification to that URL, providing the relevant information about the charge event. This allows the receiving application to process the data and take any necessary actions immediately, without the need for constant polling or manual intervention.
Subscribing to a Webhook
- Navigate to the Whitelisted Domain - Settings and confirm the base url of the endpoint is already whitelisted for your business.
- Navigate to the Webhook Subscriptions - Settings on your dashboard and click on Webhook Subscriptions.
- Click on the "Add an endpoint" button to add the URL where you'd like to receive webhooks.
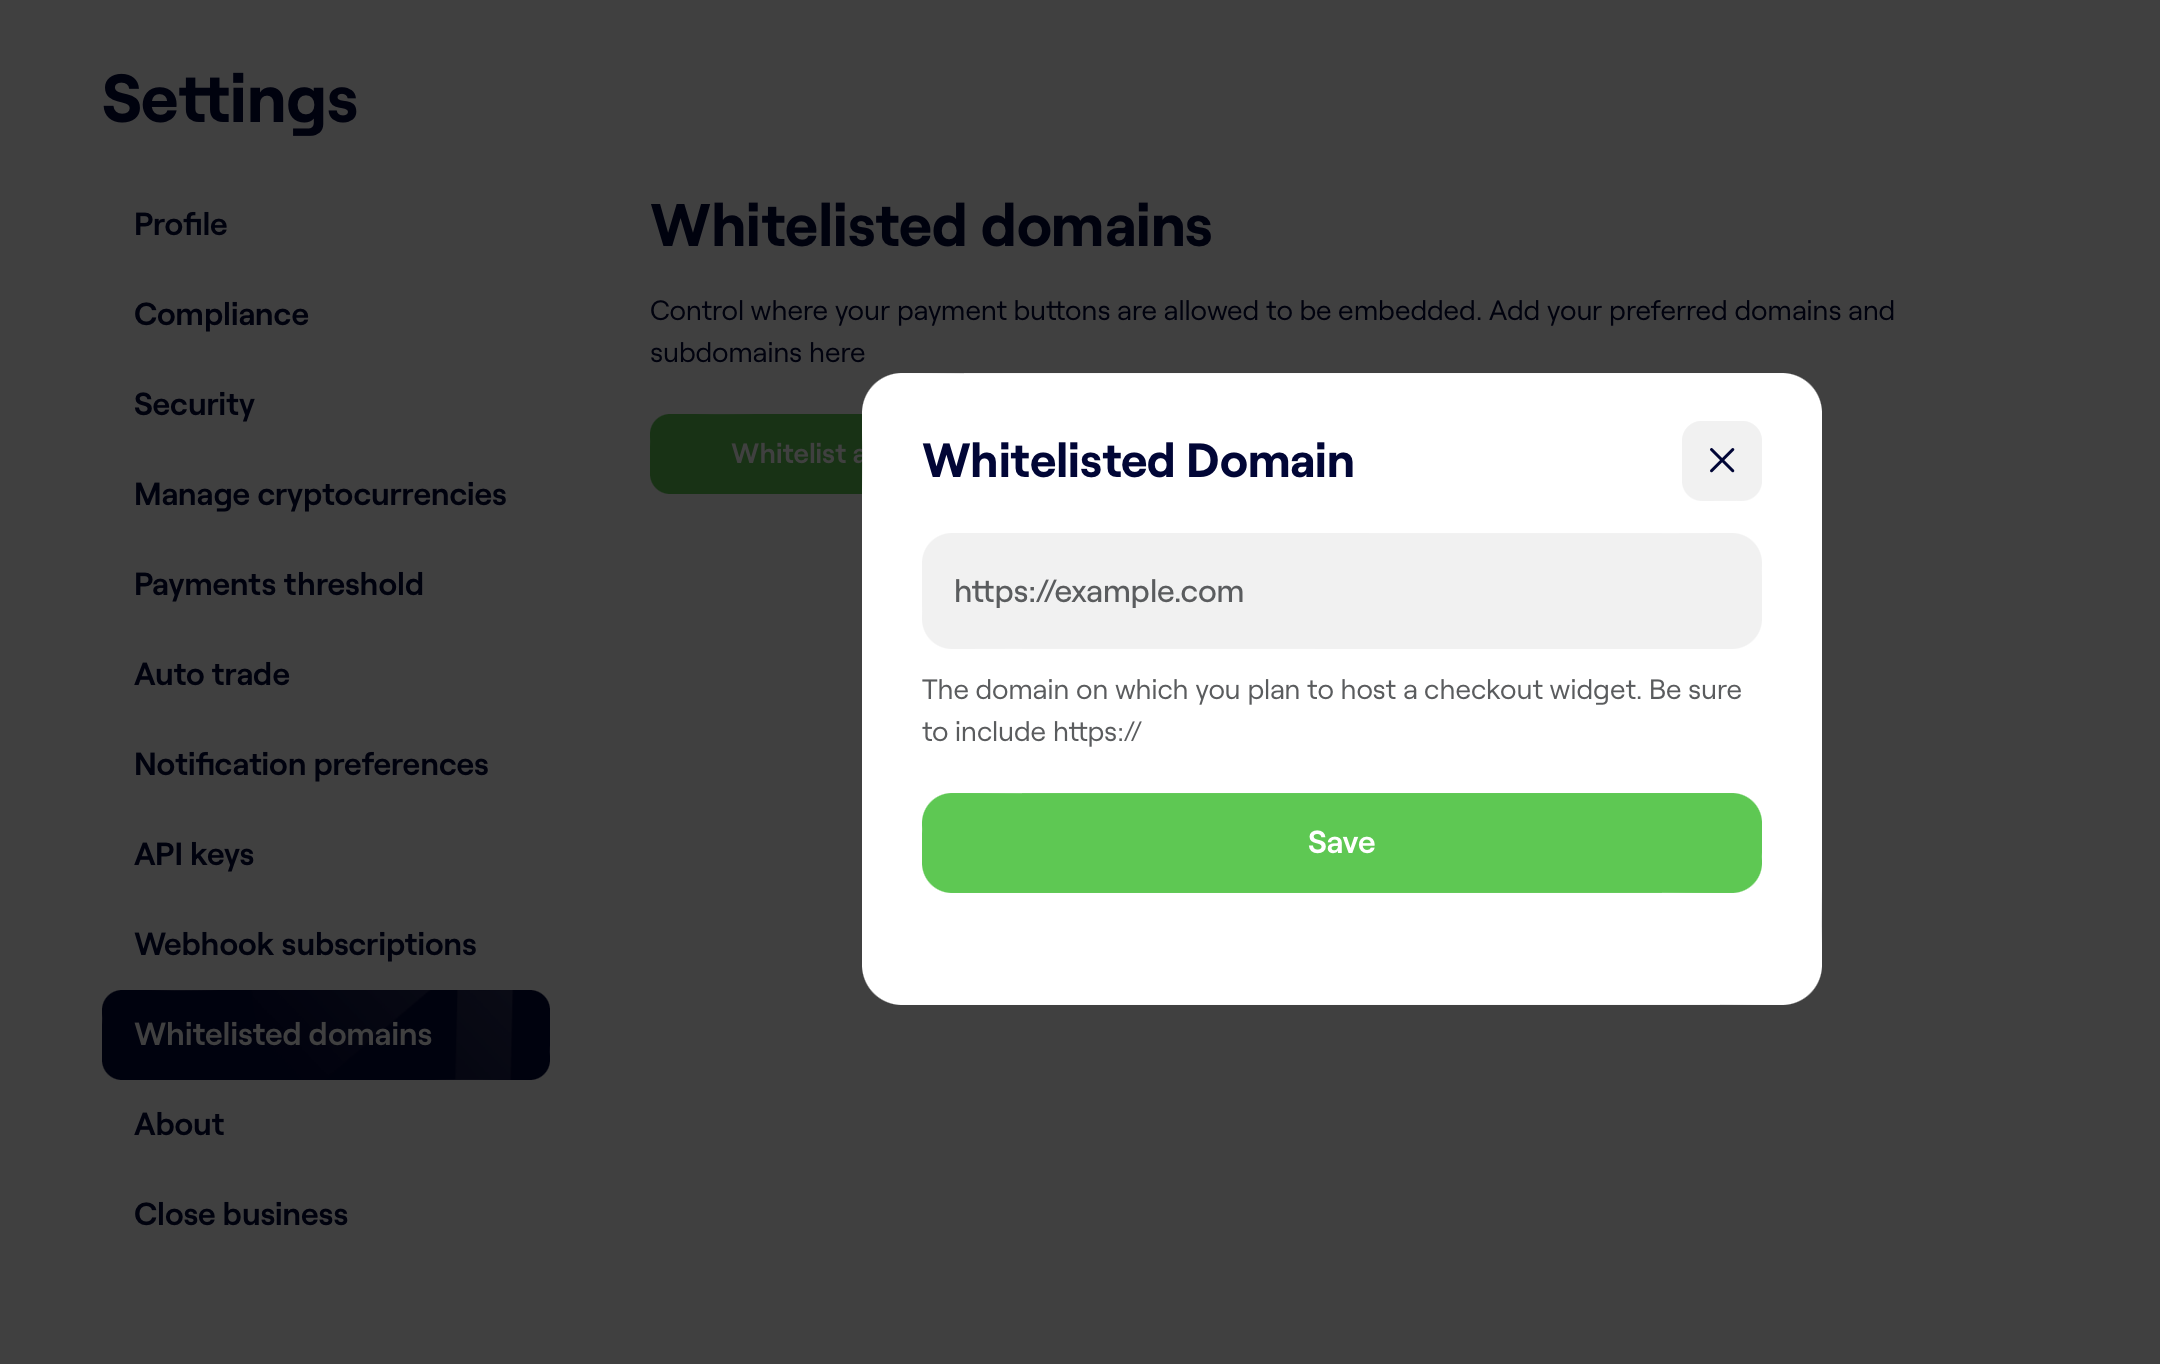
A whitelisted domain containing the base URL of the webhook endpoint must be configured before a web hook endpoint can be added.

The webhook subscriptions page under settings
During the process of setting up webhooks, you will be prompted to provide an endpoint URL that is accessible via HTTPS. This URL is where you will receive the webhooks from the application. You will also have the option to specify which events you want to receive notifications for, allowing you to filter and receive only the subset of events that are relevant to your needs.
Responding to Webhook Requests
When a webhook is sent to your endpoint, it is important that your endpoint responds with a 200 HTTP status code to indicate that the webhook has been received. If there is no acknowledgement of receipt, the system will retry sending the webhook with an exponential backoff for a maximum of three days. The retry interval increases over time, but it will never exceed one hour.
Validating Webhook Signatures
When you receive a webhook event payload, it will include a hashed authentication signature in the header. This signature is generated using the HMAC SHA256 hash algorithm by concatenating your webhook shared secret and request body. To ensure that the signature is valid and came from the correct source, you need to generate the HMAC SHA256 hash and compare it with the signature received.
The signature is included as an X-BC-Signature header, which contains the SHA256 HMAC signature of the raw request payload. This signature is computed using the web hookshared secret as the key. Each webhook URL you configure has a unique shared secret, You can find your webhook shared secret under the Webhook subscriptions
Always verify the webhook signature before taking any actions within your system to ensure that it is legitimate.
//key = webhook shared secret from settings
//payload = request body from the POST Data
//signature = Header X_BC_SIGNATURE obtained from the request

func verifyBushaHook(key string, payload []byte, signature string) bool {
	hash := hmac.New(sha256.New, []byte(key))
	hash.Write(payload)
	expectedMAC := hash.Sum(nil)
	expectedSignature := base64.StdEncoding.EncodeToString(expectedMAC)

	return hmac.Equal([]byte(expectedSignature), []byte(signature))
}
public function validate_webhook( $payload )
{

  if (!isset($_SERVER['HTTP_X_BC_SIGNATURE'])) {
    return false;
  }

  $signature = $_SERVER['HTTP_X_BC_SIGNATURE'];
	$secret = '{Webhook shared secret for the URL from the dashboard }';

  $hash = hash_hmac( 'sha256', $payload, $secret, true );
  $checkSum = base64_encode($hash);

  if ( $signature === $checkSum ) {
    return true;
  }

		return false;
	}
Updated about 3 years ago